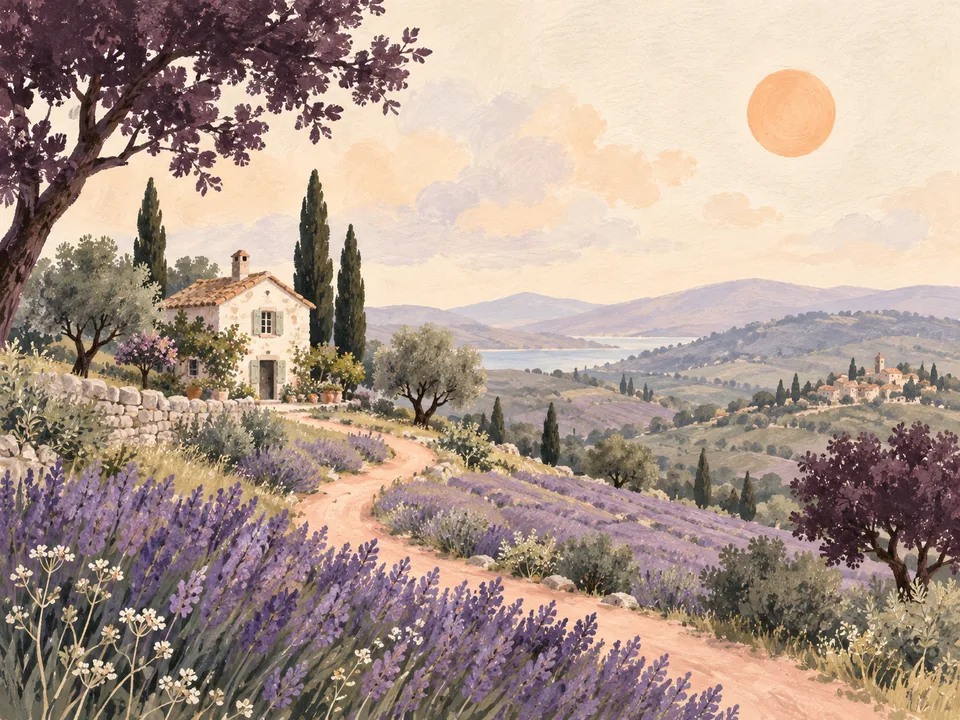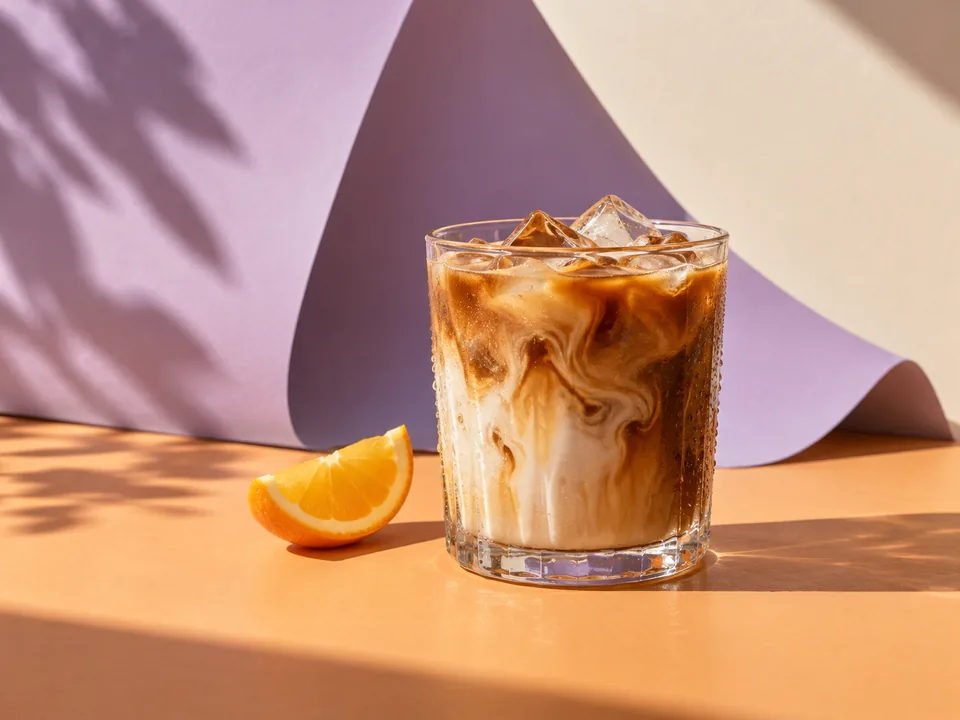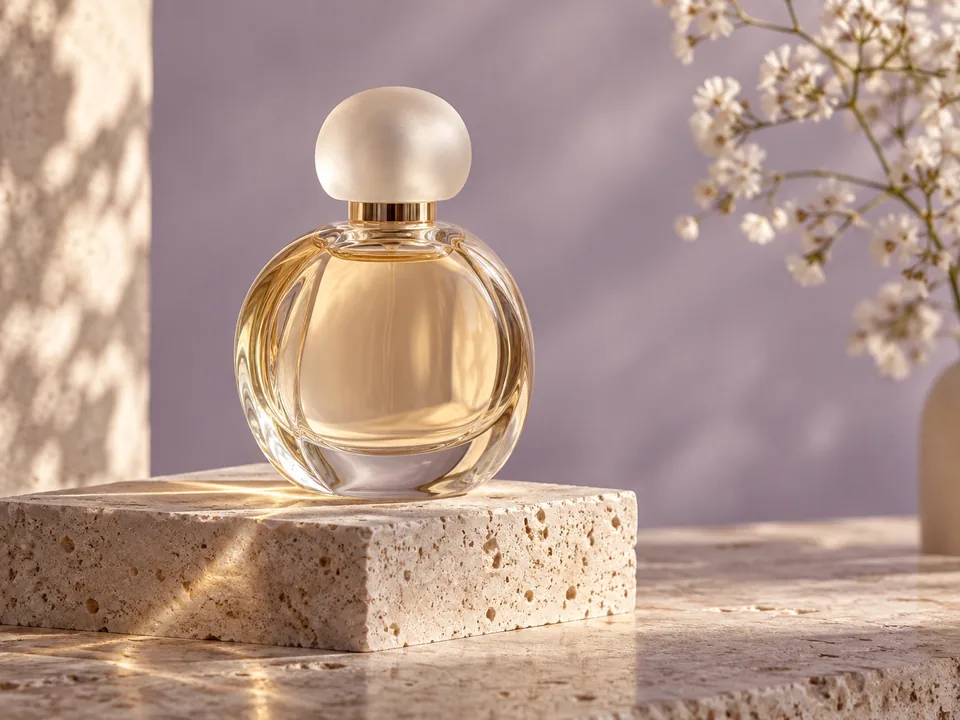
A reference image can carry a subject, a color palette, a lighting style, a layout and text at the same time. “Make it like this” leaves their roles unclear. A better conversation separates what should stay from what should change.
1. Give every reference a job
Decide what you need from each image:
- Subject reference: the shape, material, color or important features of an object.
- Style reference: lighting, texture, palette or atmosphere, without copying the subject.
- Composition reference: camera angle, empty space and visual hierarchy.
Suppose the first image is your perfume bottle and the second has lighting you like. Say: “Use the bottle from the first image and only the soft side lighting from the second. Do not copy the objects in the second image.” That gives both references a clear purpose.
2. Upload clear and relevant material
Use the attachment button in the creative assistant to select PNG, JPEG or WebP images, or paste an image. A turn currently supports up to six attachments, at most 5 MB each and 8 MB combined. Follow the limits shown in the interface.
Choose images with a complete, visible subject and little compression. One useful front view and one detail can be more helpful than many nearly identical photos. Upload only material you have permission to use and are comfortable sending to the model.
Ask the assistant what it sees before proceeding. If it mistakes transparent glass for metal, correct that understanding before generating.
3. Separate fixed details from creative freedom
A small template helps:
Subject: the perfume bottle in the first image.
Preserve: its proportions, clear glass, pale gold liquid and black cap.
Change: the background, surface, lighting and composition.
Goal: a restrained product visual with empty space on the right.
Avoid: additional branding, extra bottles and busy decoration.
If a label must remain accurate, state that requirement and inspect the result. A reference guides the model; it does not guarantee a pixel-perfect copy or perfect identity and logo consistency.
4. Compare directions before choosing one
You can ask for two background ideas without generating yet. A pale stone platform with soft side light and a dark surface with rim light communicate different things. Compare their fit for the brand and intended placement, rather than the length of their prompts.
When you choose, say: “Use the first direction and my uploaded bottle. Generate one image.” If the assistant presents a proposal, inspect its selected references. An unrelated image should not become part of the next generation.
5. Identify the earlier image you mean
After several results, “make it warmer” may be ambiguous. A clearer instruction is:
Use the version with the pale stone platform. Keep the bottle size and position, and change only the background from cool gray to warm beige.
The assistant can consider available images from the conversation and ask when the reference is unclear. Images still need to belong to your account and remain readable. Expired, deleted or omitted images may need to be uploaded or selected again. A text message in history does not mean its original image file is still available.
6. Compare specific details, not just the overall impression
Review three layers:
- Subject: are the shape, proportions, count and defining details right?
- Scene: do the background, lighting and empty space support the brief?
- Use: does the crop work, and do text or brand details need correction?
Choose one main issue to refine. For the complete first-image workflow, read [From a first idea to your first AI image](/en/blog/guided-ai-image-creation). For a commercial layout, continue with the [poster guide](/en/blog/poster-design-with-ai).
A starter message is filled in for you to edit and send. Chat is billed by usage; clear image requests generate directly and use Credits.