1. Decide what belongs on each image
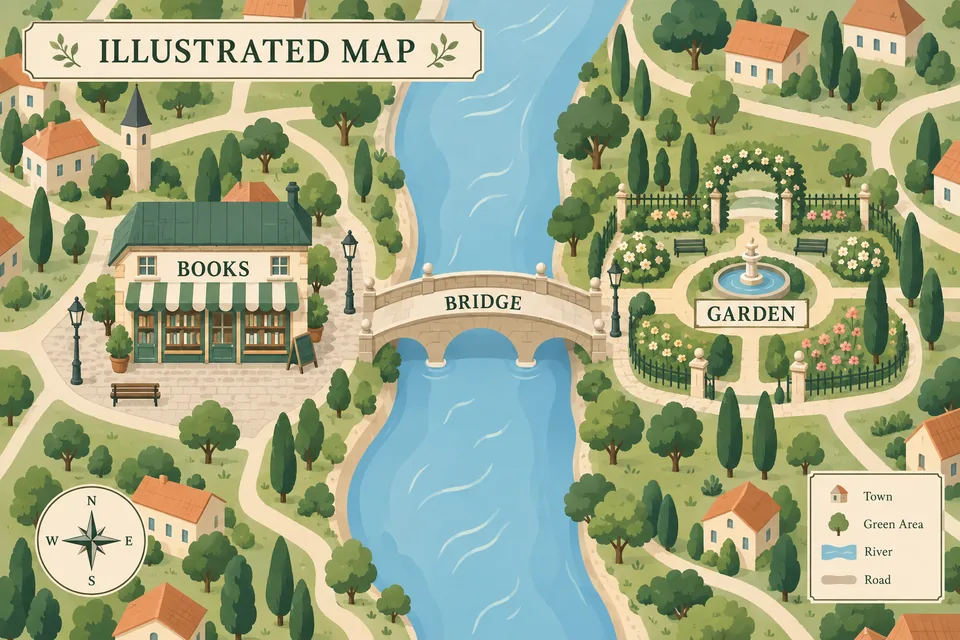
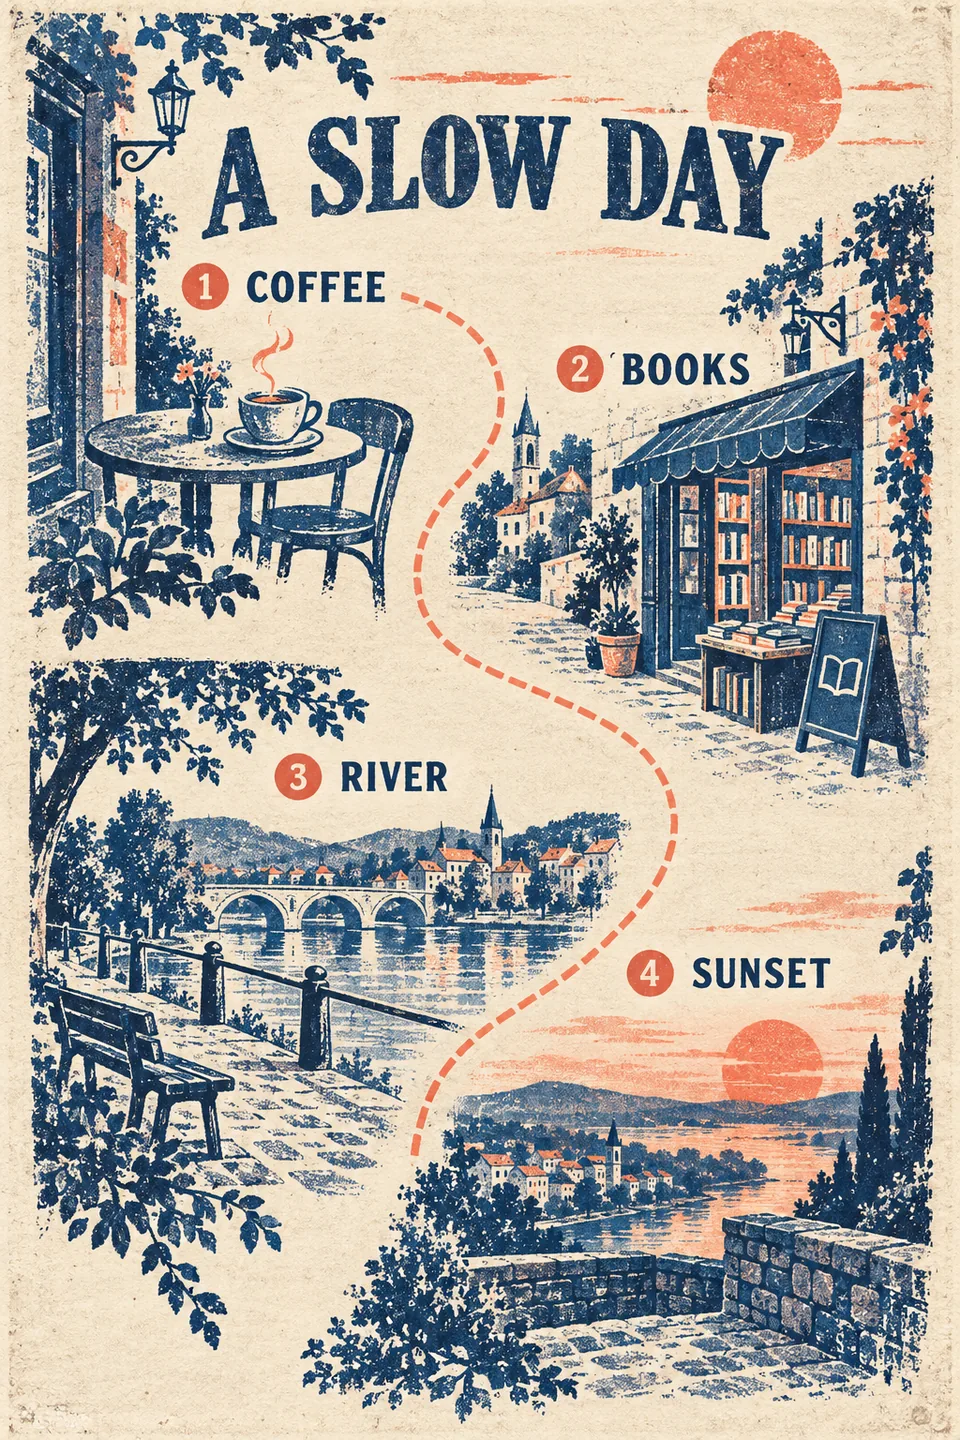
For a three-day trip, start with four deliverables: a cover plus Days 1, 2 and 3. This is an example, not a fixed product limit. A phone-friendly 3:4 portrait format works for a concise overview; use a larger or less dense layout if the day needs more detail.
Keep each day to a title, date, a few main stops, a transport note and one reservation reminder. Long opening-hour explanations, full budgets and source URLs belong in the text itinerary or PDF. Do not compress the entire trip into tiny lettering.
2. Keep one factual itinerary for the whole series
Before generating, ask for a compact table listing each date, area, stops, transport and unresolved items. Correct that table first. All pictures should use the same version, including spelling, day numbering and the number of travellers.
| Image | Content role | Check against the itinerary |
|---|---|---|
| Cover | Destination, dates, trip mood | Correct destination and date range |
| Day 1 | Arrival and a light first route | Arrival time and check-in constraints |
| Day 2 | The main outing | Reservations and travel time |
| Day 3 | A short final route | Departure deadline and luggage |
This is a layout example; actual stops depend on your trip and current research.
3. Agree a shared visual direction
Specify palette, illustration style, language, aspect ratio and where the day label appears. Start with one draft if the style is uncertain. Once it works, ask the assistant to use that completed image as the visual reference for later pictures in the conversation.
Reusing a reference helps explain the intention but cannot guarantee identical typography or every detail. For exact names, numbers and times, keep a text copy alongside the pictures and inspect the generated lettering. A schematic route should be labelled as an illustration, not presented as accurate navigation.
4. A complete prompt for the series
Use the latest agreed three-day itinerary in this chat to create a consistent four-image series: one cover, then one image per day. Generate separate images, not a four-panel sheet.
Use 3:4 portrait, [English], a restrained blue-and-cream palette, hand-drawn travel illustrations and a consistent position for the day title and date.
Cover: destination, full date range and one short trip summary.
Each day: the correct date, up to four main stops in order, one transport note and one reservation reminder. Keep labels large enough to read on a phone. Preserve the itinerary’s facts; mark unverified details rather than inventing them.
Create the cover first as the style reference, then continue with the daily images. Keep every finished image in this conversation. Tell me if any image fails instead of claiming the series is complete.
Use illustrations for atmosphere; do not invent precise map geometry or real booking confirmations.
5. Check the set as well as each image
Check all four outputs, not just the prettiest one. Are the dates sequential? Is a stop accidentally repeated on two days? Did a label change between versions? Do the images retain a consistent ratio and readable text at phone size?
Then check the individual composition: important labels should not touch the edge, and illustration detail should not obscure instructions. Image generation can misspell text or make up detail. Correct travel facts in the itinerary first, then revise the affected picture.
6. Revise one day without restarting everything
Use a precise follow-up: “Keep the cover and Days 1 and 3. For Day 2, replace the morning stop with [new stop] from our updated itinerary, keep the same palette, and leave the afternoon unchanged.” Refer to the accepted picture if there are multiple versions.
If a generation fails, inspect the error before retrying that image. Do not assume a retry is free or that it has reused every reference. Chat and AI image generation consume Credits; current pricing is linked below. A staged draft-and-final workflow can involve several paid calls.
7. Deliver the series with its detailed companion
Download the images separately and name them in order, for example 00-cover, 01-day-1, 02-day-2 and 03-day-3. Add the text itinerary or a PDF for source links, budget details and accessibility notes.
For an illustrated PDF, use the related export guide to place each completed image beside the matching day. Recheck real travel details before departure; the image series is a visual summary, not live navigation or a booking service.
Sources and further reading
Start with your destination and dates, then paste the prompt from this guide. Chat and AI image generation use Credits; see Pricing for current terms.