1. Specify the content and the editable elements
Prepare the title, time, location and dimensions. Give frequently changed information its own text layer. For help with the message, read the poster-design introduction.
Copy this complete example into the creative assistant. The event details are for practice; replace them before publishing.
Create an editable, layered reading-club poster at 1080 × 1350 pixels.
Headline: Weekend Reading Club
Subtitle: Make time for an idea
Time: Saturday, 14:00–16:00
Location text: Venue to be announced
Use a cream background, dark purple text, a few pale purple decorative shapes and generous spacing. Keep it readable on a phone.
Put the headline, subtitle, time and location in separate text layers. Keep the background and decorations separate too; do not bake the text into a background image.
Make one clear layout. Do not invent prices, addresses, QR codes or additional information.
Check the wording, alignment, line spacing and margins. Provide an editable project and a preview.
2. Choose the editable output
When an ordinary conversation recognizes a poster or editable-design request, choose the editable layered option and confirm its selected state.
The current window is 20 seconds; follow the on-screen countdown. If it expires, work continues as a regular image. Planning may already have started, and refreshing does not restart the timer. Ask for layers in a new message if needed.
3. Check the layers as well as the preview
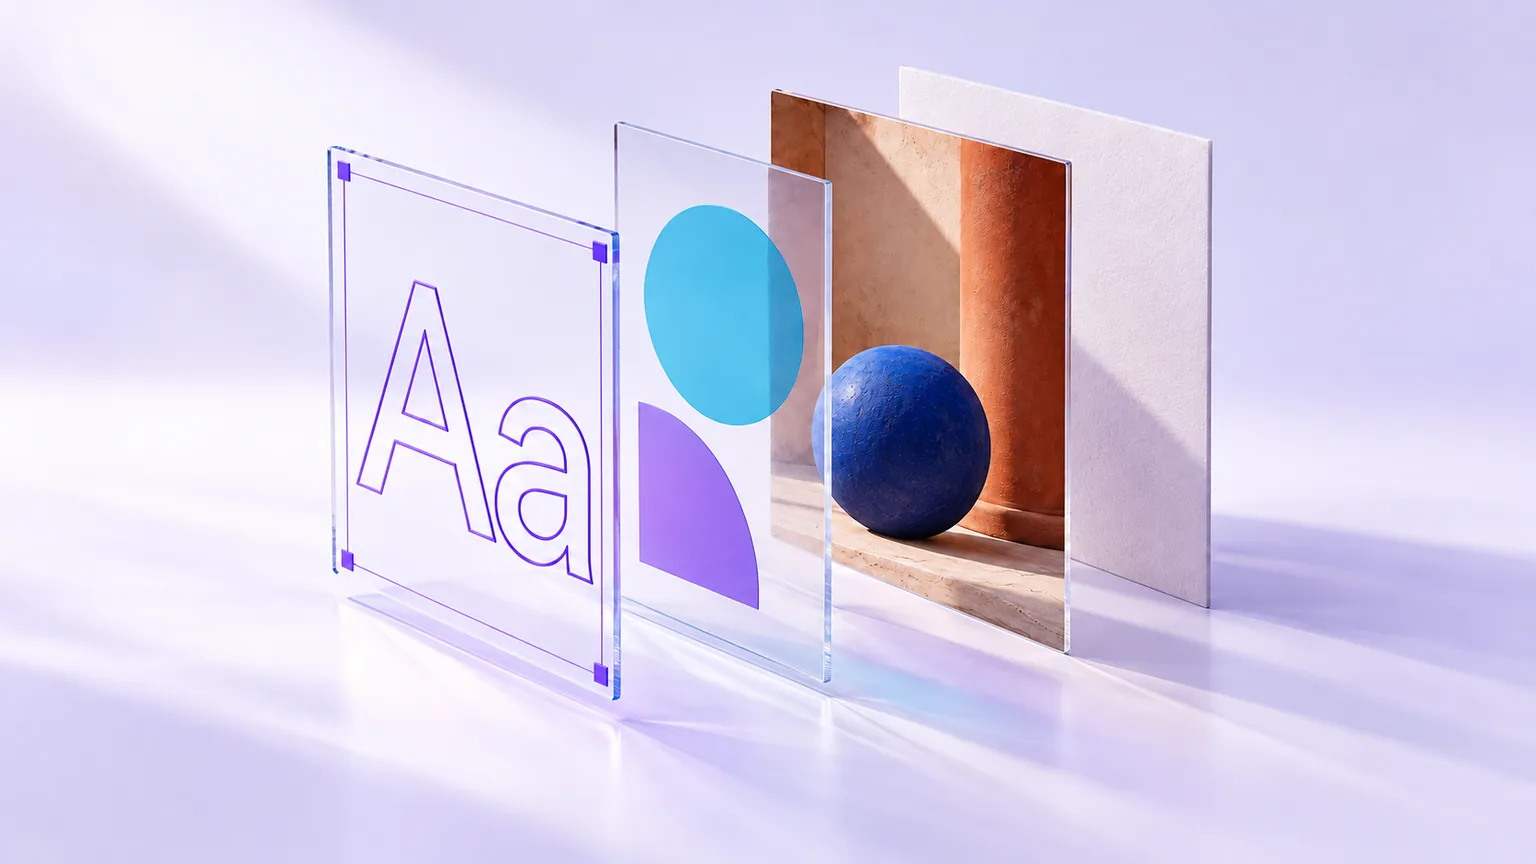
Open the delivered project. Select the headline and time separately and check that their content, position and size can be edited. Visually separate elements do not necessarily mean separate layers.
An existing JPG or PNG imports as an image layer at its original dimensions. You can add text and shapes above it, but importing cannot recover the original author's text, vectors or design structure.
4. Open the editor from the canvas
Use the conversation result's canvas entry to add the preview to the infinite canvas. On desktop, choose Edit layers or double-click the image. On mobile, select it and open More → Edit layers.
The editor opens in a full-screen dialog while your canvas arrangement remains in place. See the canvas workflow guide for organizing references and comparing results.
5. Change one text element
Select the time layer and change it to Sunday, 15:00–17:00. Check for wrapping and collisions; adjust that layer's size or position if necessary.
For an assistant edit, lock layers you want to preserve. Selection indicates attention rather than restricting every change.
Change only the time to “Sunday, 15:00–17:00”.
Keep the headline, subtitle, location, background and decorations unchanged. Do not regenerate imagery.
Preserve the time's font and color. If it no longer fits, adjust only that text layer's size or position. Check that the complete time remains readable.
Review the actual result against this request.
6. Update the same canvas card
Choose Save to canvas to save the layer version and update the original card's preview, preserving its position and connections. Check the new time after returning to the canvas.
Save · Close saves the project while keeping the current canvas preview. Use Save to canvas when the board should show your changes. Resolve any conflict or failure message before considering the save complete.
7. Export for the next step
| What you need next | Keep this format |
|---|---|
| Continue editing native parameters in Sparkles | .sparkles project |
| Work in another PSD-capable editor | PSD, with its conversion report |
| Publish the finished visual | PNG or JPEG |
PSD supports 8-bit RGB. Some text, group effects and adjustment layers may be rasterized during conversion; check appearance, fonts and layers in the receiving software. A flat image cannot replace the project. Canvas PNG export is also a composite, without independently editable design layers.
8. Review the details and keep a project copy
Sign in for private cloud saving and AI features. AI conversations and generation use existing Credits rules. Manual text and position changes do not submit paid image-generation jobs; asking the assistant can still incur model usage.
Check event details, mobile readability, export dimensions and asset rights. Download important projects and final images. Layer projects remain for 30 days after their last save, with each saved version retained for 30 days. New images added to an infinite canvas expire 7 days after first addition; saving the layout or reusing them in the same canvas does not renew them. Existing images keep their originally recorded expiry times. Read the online image-editor guide for size and format limits.
Add your own reference first, then paste a prompt from this guide. AI image generation uses Credits; check the price shown before generating.